For today's post for The Rubber Buggy, please scroll down.
Today I trying to show you how to make a box.
I tend to do this fun little box when I'm gifting a mini album. I got the idea when I made a baby mini by 6x6 envelopes.
This one has a magnetic closure on the side and is a bit smaller so you will be able to only use two 12x12 cardstock, (For a 6x6 mini, you need 3 sheets)
Anyhow, the video is quite fast, as I fast forward in order to fit the 10min limit on youtube.
If you have any questions please don't hesitate to ask.
I start by marking the 12x12 paper at 4,5 & 7,5 on all four sides.
Then I score a line between the 7,5 mark and the 4,5 mark on the other side on all four sides - now you have the base of your box. If you wish for a smaller base leave a smaller gap between your marks i e 5 & 7. For a larger base leave a wider gap i e 4 & 8...
.JPG) The next step is to score the lines for your sides or the height of your box. Here I scored 1,75 outside the base, I prefer to fold it double and glue a piece to the bottom - you'll see later. Therefore, I score it once more 1,75 outside the line I just scored.
The next step is to score the lines for your sides or the height of your box. Here I scored 1,75 outside the base, I prefer to fold it double and glue a piece to the bottom - you'll see later. Therefore, I score it once more 1,75 outside the line I just scored.You now have a 12x12 with a lot of diagonal score lines, time to cut some.
.JPG) How you cut is really prefable to you. But you need to have in mind that you are creating something to hold a corner. So the last scoreline of yours create a corner to the paper (Hold on to that line), now use the longest of the scorelines as your cuttingline and cut all the way to the base. Also cut the second line all the way to the same line as the base line. This part can be removed altogheter.
How you cut is really prefable to you. But you need to have in mind that you are creating something to hold a corner. So the last scoreline of yours create a corner to the paper (Hold on to that line), now use the longest of the scorelines as your cuttingline and cut all the way to the base. Also cut the second line all the way to the same line as the base line. This part can be removed altogheter.Now you are ready to start assembly your box - just fold all the lines towards the base and you'll see the box take shape. Glue everything together. The box is done!
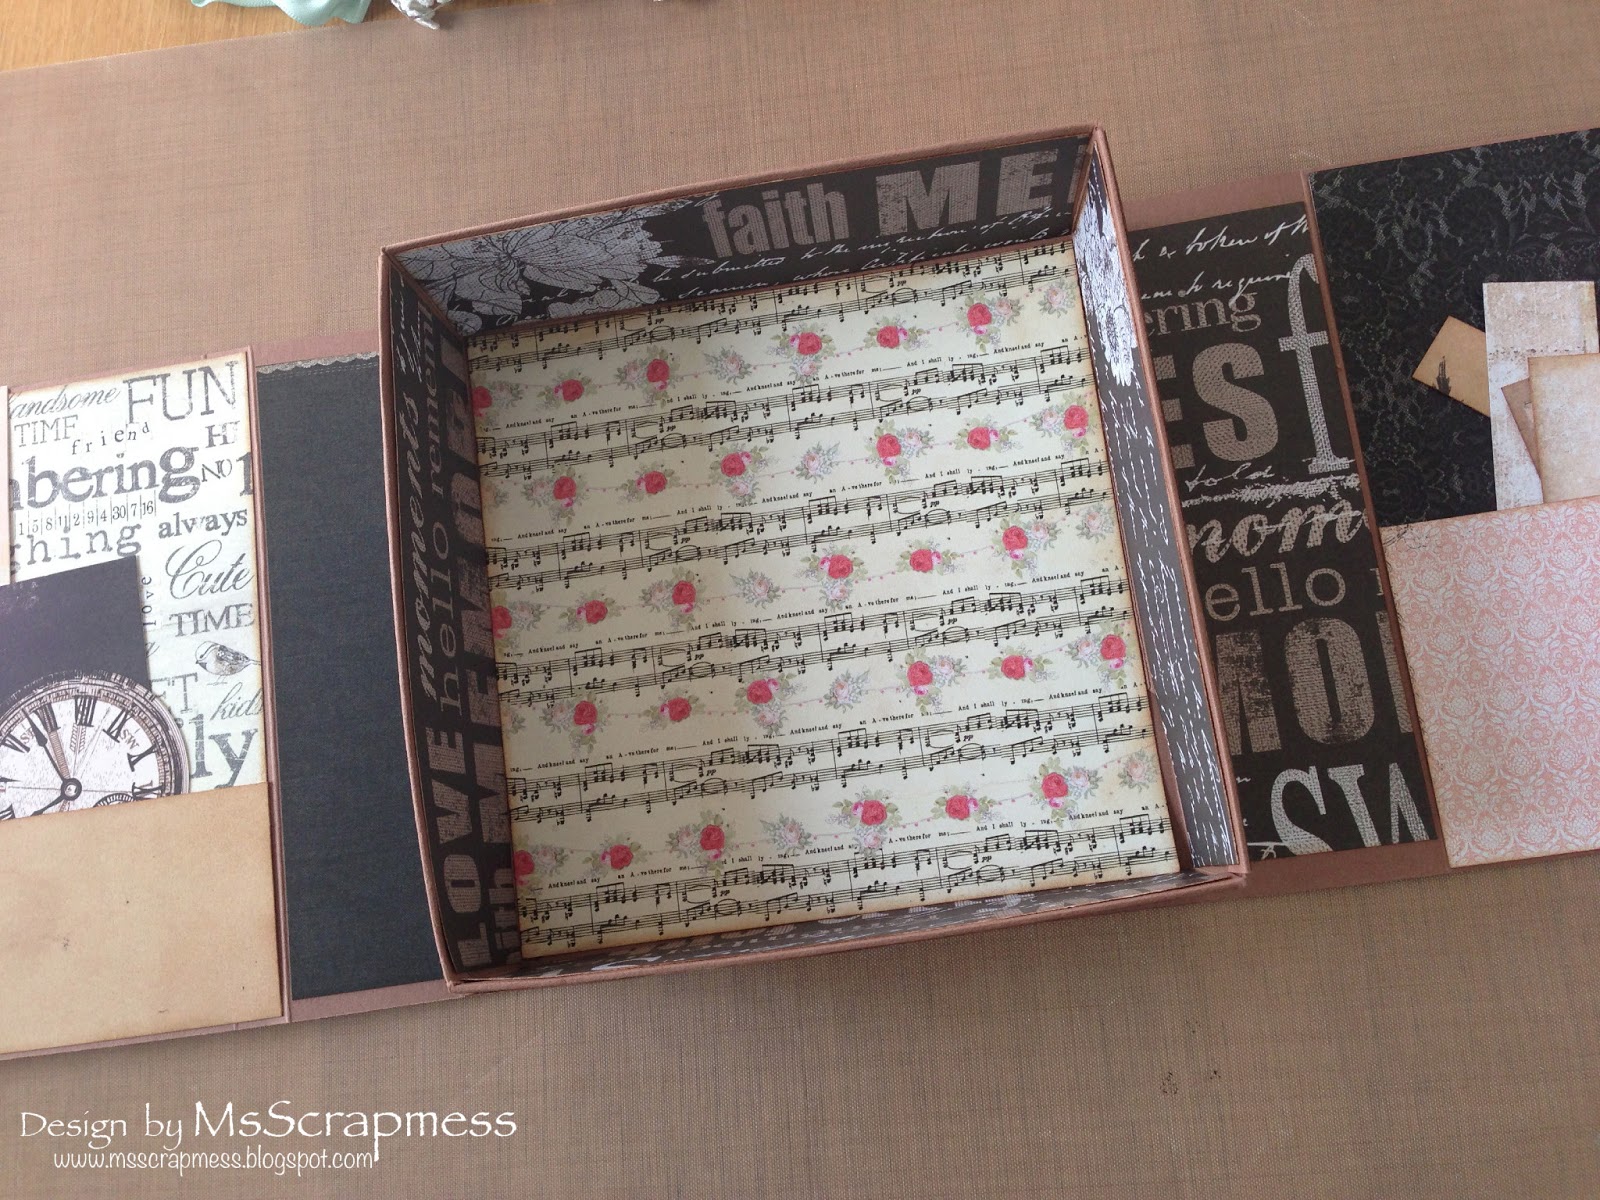
 For the covers, I do mine double folded, but you can use the same principle and make a gate fold, just a normal cover or what ever you creation might be in mood for.
If you made a box with a base smaller than 6x6, you can make the covers from only one 12x12, just cut it in half. If your box is larger, you probably need 2 sheets of cardstock if you want the covers to go outside your box as shown on the picture.

For the covers score on of the pieces as wide as your box, this will be the inner cover. Also score it one more as wide as the box is high. For me that means I'm scoring at 6 (a bit larger than my box, but I'll cut that away later) and the other at 7,75. That leaves about 4 left to go on the back of the box. It's optional to just cover half of the back and meet the other part in the middle. You will cover that later. To the other piece of cardstock. Depending on the size of your box you can be able to do a closure that overlap one of the sides. Just start backwards - I need 2 to the back, another 1,75 for the side and almost 6 for the front, which leaves me just about 2 for the closure. Now you have all the parts, just glue together and start to embellish!

I usually start by covering both the covers and the box with paper, both to add sturdiness and hide lines. Then you have endless possibilities to add flowers, sprays and ribbon/lace.
I hope you try it out - it was kind of hard to explain it like this, if you have any questions - don't be shy :D

I hope you enjoy it and once you've mastered the techniques you'll see how versatile this can be. You might even be able to add a window to one of the covers... or both! (You just die cut the covers before you glue them to the box!)


For more inspirational Teach me Tuesdays, please visit the blog!
If you need supplies to embellish your box with, please visit the store!
Thank you for taking the time to pop by:)
No comments:
Post a Comment